Venturing into the Deadmines is akin to navigating an intricate tapestry of danger and reward, woven with the threads of fate and fortune. You’re about to embark on an expedition where every step counts, and your survival hinges on more than mere luck; it requires cunning, coordination, and the right companions by your side. As you steel yourself for the challenges that lie ahead, remember that knowledge is as crucial as the blade you wield or the spells at your fingertips. In the following lines, you’ll uncover strategies that will transform your treacherous trek into a masterclass of dungeon dominance. Equip yourself with the wisdom to turn the tide of battle and ensure that your journey through the Deadmines isn’t your last. Stay tuned for the essential secrets that will pave your path to glory and have you emerge not just as a survivor, but as a conqueror.
Assembling Your Dream Team
Choosing the right mix of classes is crucial when assembling your dream team for a successful Deadmines run in WoW Classic. You’ve gotta consider the level range of your group; ideally, you want to be within the 18-22 bracket to ensure you’re tough enough to handle the previous bosses and ready for the challenges ahead.
For your frontline, pick a tank with a solid shield block ability and a talent tree that’s been spruced up for survivability. This warrior should know when to use demoralizing shout to reduce incoming damage, which is key in those hairy moments. DPS warriors can be a blast, but make sure they’re not trying to out-tank your main, especially if they’re not tanks at max level.
Additionally, your team should have a healthy balance of damage dealers and healers to keep everyone on their feet. Remember, it’s not just about slicing through enemies; it’s also about outlasting them. So, choose wisely, gear up, and get ready to take on VanCleef with a group that’s as sturdy as it is deadly. With the right composition, you’ll be laughing all the way through the Deadmines.
Mastering Dungeon Mechanics
After assembling your dream team with the ideal balance of tankiness, damage, and healing, it’s crucial to get a grip on the Deadmines dungeon mechanics to ensure your victory against VanCleef and his cronies. Understanding the layout and the pulls is essential. You don’t want to auto-attack a nearby enemy by mistake and end up with more on your plate than you can handle.
Keep tabs on the level mobs. The lowest level in your group should dictate the pace; you can’t afford to rush and aggro additional enemies that could overpower you. Your damage dealers should focus on single targets whenever possible, to quickly reduce the number of threats.
Be aware of each boss’s extra functionality. They’re not just another mob; they’ve got tricks up their sleeves that could turn the tide of battle if you’re not prepared. Remember, in the hardcore mode, there’s no coming back if you wipe. Every pull, every step you take in Deadmines could be the difference between success and starting over. This isn’t just another run; it’s the entire game on the line. Stay sharp, stay focused, and communicate with your team. Together, you’ll conquer the depths of this treacherous mine.
Optimizing Gear and Consumables
Before venturing into the shadowy corridors of the Deadmines, ensure you’re kitted out with the right gear and stocked up on essential consumables to maximize your group’s effectiveness. Gear optimization isn’t just about having the highest armor or damage stats; it’s about knowing what’ll give you the edge in a tough situation.
Here’s what you’ll need to consider:
- Class-Specific Gear: Tailor your equipment to your class strengths. Warriors should focus on defense and stamina, while mages need items that boost intellect and spell power.
- Resistances: Check for gear that offers resistance against the types of damage you’ll face. In the Deadmines, gear with shadow resistance can be particularly useful.
- Healing and Mana Potions: Don’t skimp on these. A well-timed potion can mean the difference between a wipe and a win.
- Food and Buffs: Stock up on food that provides long-term buffs. Stat-boosting elixirs or scrolls can also provide a significant advantage during critical fights.
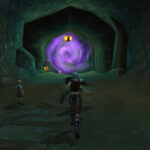
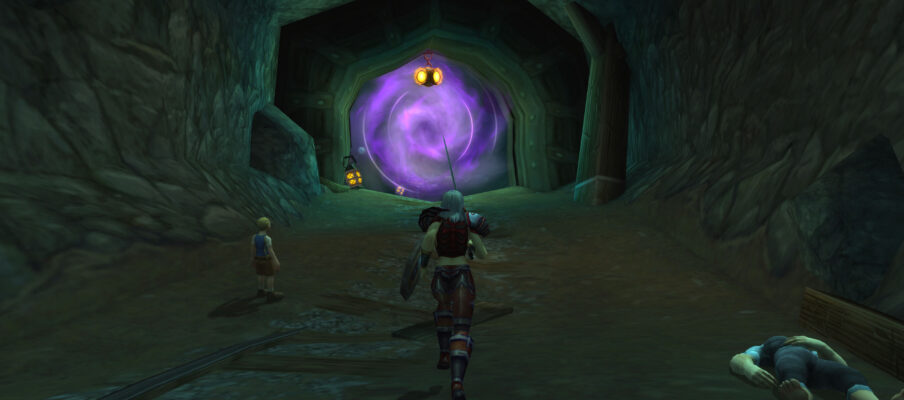
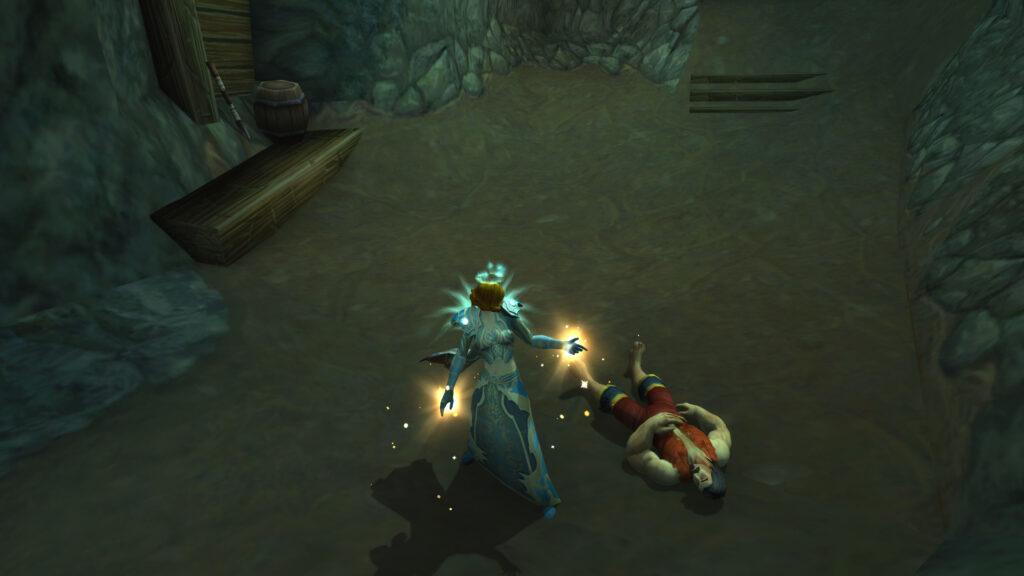
Navigating the Deadmines Layout
Mastering the Deadmines’ labyrinthine tunnels is crucial for a smooth run, so you’ll need to familiarize yourself with its twists and turns. As you delve into the mine’s depths, remember that the layout is linear with key landmarks to guide you.
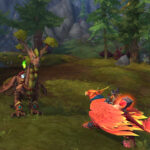
First off, you’ll enter through the Mineshaft, a straightforward path with miners and overseers. Keep an eye out for patrols that could catch you off guard. After clearing this area, you’ll reach the Goblin Foundry. Here, it’s essential to take out the engineers quickly since they can overwhelm you with their mechanical creations.
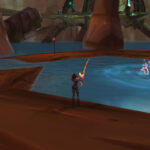
Past the Foundry, you’ll navigate the Mast Room. It’s a large open area with several groups of enemies, so be cautious and pull them one group at a time to avoid being overrun. This will lead you to the notorious ship, the heart of Deadmines. Once on board, you’ll face the final bosses in succession.
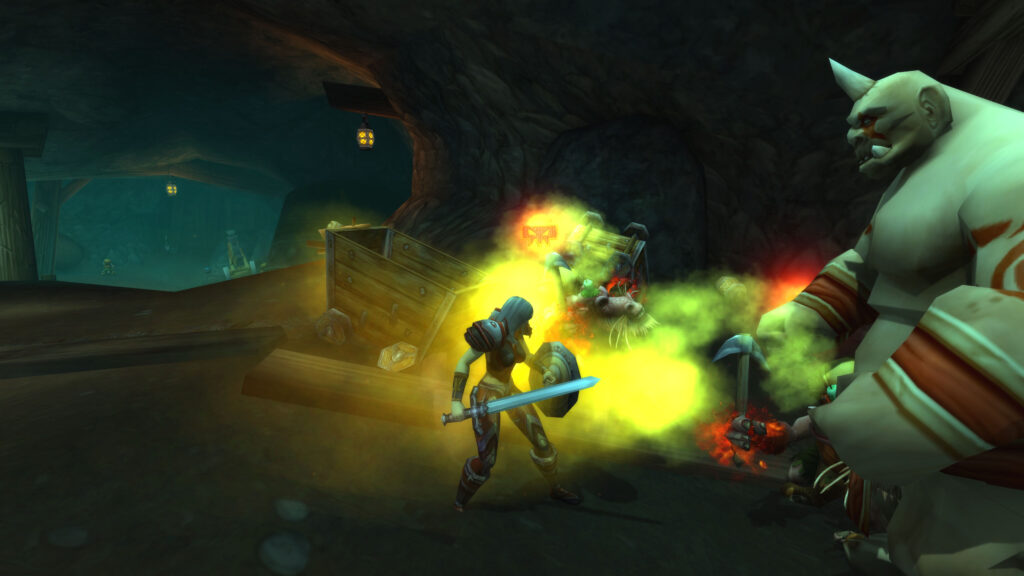
Efficient Boss Strategies
Having navigated the Mast Room and reached the ship, it’s time to focus on taking down the Deadmines bosses efficiently. You’ll want to maximize every encounter to ensure you’re not wasting time or resources. Here’s how you can streamline each boss fight:
- Rhahk’Zor – The first boss is a brute, but he’s straightforward. Make sure your tank grabs his attention quickly. DPS should focus on steady damage, avoiding aggro. Use interrupts to stop his Smash, which can be devastating.
- Sneed’s Shredder – This mechanical menace can pack a punch. Aim to disable it quickly by focusing all DPS on it as soon as it activates. If you have a way to reduce its armor or slow it, use it.
- Gilnid – The smelter is tricky with his Molten Blast. Spread out to minimize the fire damage to the group. Interrupts are key here, so keep them handy.
- Captain Greenskin – When you face Greenskin, watch out for his Cleave. Melee characters should stand behind him to avoid damage, and keep an eye out for adds that may need to be quickly dealt with.
Frequently Asked Questions
What Contingency Plans Should I Have in Place if a Party Member Dies During a Hardcore Deadmines Run?
When a comrade falls, it’s like losing a piece in chess; you must adapt. Have a backup healer or extra potions, and know the nearest exit to regroup or escape danger.
How Can I Ensure Effective Communication Within My Team During High-Stress Encounters?
To ensure effective team communication during high-stress moments, you’ll want to establish clear roles and signal words beforehand. Stay calm, be concise, and listen actively to keep everyone on the same page.
What Are Some Common Mistakes to Avoid That Aren’t Directly Related to Combat or Dungeon Layout in Hardcore Deadmines?
You’re not out of the woods yet; avoid underestimating consumable needs, neglecting armor repairs, and mismanaging your inventory. Such oversights can turn a smooth run into a rough ride in no time.
How Should Our Group Handle Loot Distribution Fairly and Strategically in a Hardcore Deadmines Run?
You should discuss loot rules before starting, agree on need before greed, and prioritize gear for members who’ll benefit most, ensuring fairness and boosting your group’s overall chance of success.
Are There Any Specific Server or Latency Issues That Can Impact a Hardcore Deadmines Run, and How Can We Prepare for Them?
Laggy links and sluggish servers can sabotage your strategy. You ought to optimize your online connection, close background apps, and choose a time when server traffic’s typically lower to tackle the dungeon.
Join us to delve into Azeroth’s depths. Discover exclusive insights, tips, and vibrant community discussions. Elevate your World of Warcraft experience now. Uncover secrets alongside fellow adventurers and forge your path through the realm. Dive in and enrich your journey!